Tuesday, November 29, 2011

My Go-To Herbal Supplements for Pregnancy


I'm very blessed. I've never had any major issues with my pregnancies...not even minor issues really. I attribute this to being in good health in the first place & trying my best to take care of myself while I'm pregnant.

So today, I'm going to share some of the things I do & use to help me & my babies stay healthy during our 9 months together.

Supplements/Herbs:

First off, I always get an all-natural, whole-food prenatal vitamin. None of that synthetic stuff the Dr. offers. Those vitamins don't do as much for me & they make me sick. The natural one's don't. I also include a prenatal Omega pill of some sort. Usually Garden of Life brand for the vitamins & omega.

The next thing I do is to add herbs in on top of it. Once I'm further along in my pregnancy, I start taking Red Raspberry Leaf. I've taken it in capsules, I've taken in as a tea, & I've made a tincture out of it & taken it that way. The tincture is best, but for me it works better to do a bit of all three.

Red Raspberry leaf has a medically proven & trusted track record in helping strengthen the womb of a pregnant woman, & it is also reported to be effective in restoring the womb after delivering. It can be used to help all sorts of women's reproductive issues. {Link to Bulk Herb Store's Mama's Organic Red Raspberry Brew...where I get almost all of my herbs!}

Then the last thing I do before I have my baby is I use a labor prep tincture called "Gentle Birth". It helps to get your body ready to have a quick, safe delivery & it minimizes complications such as hemorrhage & things of that nature. 

I did not take this with my first pregnancy & you all know how long that one was. I did take it with my last & it went MUCH faster & easier. I'm sure the whole 1st baby, 2nd baby thing had a lot to do with it as well, but I'm sure this was super helpful.

Resources:

As far as resources for preparing for pregnancy & labor, BHS's has a new video & book series called "Making Babies". It's a 3 part series that takes you through the entire process naturally & healthily from pre-conception to postpartum. A definite must in my opinion!

The last thing I usually use is the book, Natural Childbirth - The Bradley Way. I love this book & I wish I'd had it for my first. Maybe things wouldn't have been so long & drawn out that way! It focuses on teaching your what your body is doing during labor & how to relax & work with it so you can have a quicker, easier labor. {Caution...mature images. Don't leave this one laying around for your kiddos to find!}

It definitely worked for me last time because I almost didn't make it to the hospital. I got there 17 minutes before Isaiah was born! We'll prepare better this time...promise!

Anyway, I hope this has given you a bit more insight into how I do things when I'm preggo. Again, #3 is almost here. I can't wait. I'll definitely keep you updated & thank you for all your thoughts, prayers, & kind words. It means so much!

xo, Meagan

{Some of the above links are affiliate links of mine, meaning I make a small commission if you use my links to make a purchase. I appreciate your generosity! Thank you!}

Thursday, November 24, 2011

Check Out My Baby Belly!!

I'm not sure why it is that people obsess over baby bumps?

Mine's more than a bump now of course. I'm due in a month. I feel like it's more of a mountain!

I guess it's because they're little & cute & there's a baby inside & all that gushy stuff. So today I thought I'd give you all a bit of an update on my preggo self & show you a little tummy shot.

I'm due December 20th so that makes me 36 weeks this week.

I've gone late with both of my previous two little men.

  • Judah was born at 42 weeks
  • Isaiah was born at 41 weeks
Baby #3's name will be Uriah. I still don't think we've settled on a middle name yet. We're tossing James around in our minds. Uriah James...has a nice little ring to it.

My goal is to have an all-natural delivery again. That means no drugs people! Hopefully this last labor will be like my 2nd one & go quickly.
  • Judah's labor was 42.5 hours...total...seriously...no fun...never want to do that again
  • Isaiah's labor was 4.5 hours...total...seriously...no fun...doable
I've not hit my nesting phase yet. I think I'm trying to focus on getting life in order for the holidays first.

Anyway, here's a pic of me & my little Uriah below! Enjoy!


Tuesday, November 22, 2011

Heads Up: Black Friday - Cyber Monday Sale

OMGoodness! I can't even believe it's that time of the year again! Thanksgiving & Black Friday weekend...the biggest shopping weekend of the year. Crazy!

Seriously, the older I get {& I'm not that old!}, the faster time flies!


So here's what I've got for you this weekend...starting Thursday night & ending Monday at midnight!

All orders $35.00 & over will receive FREE SHIPPING with coupon code - "FS2011"
plus
All orders will receive a free holiday gift list printable - to help you keep track of those you need to shop for!

Now below, I've put together a little Baby Swank gift guide, just in case you need a bit of help!


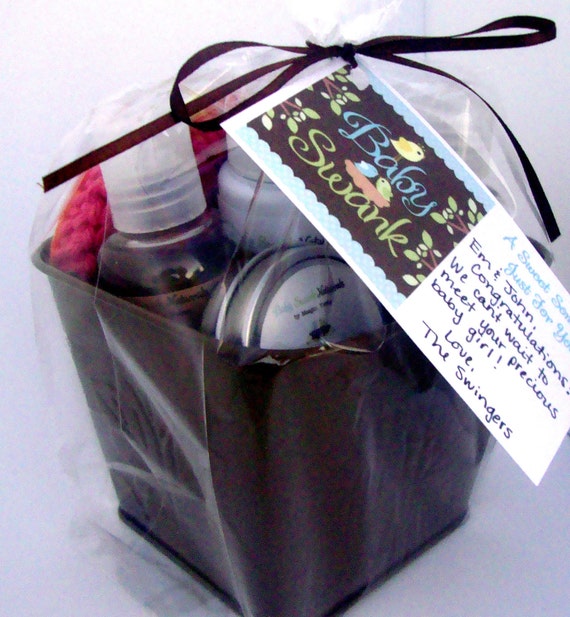
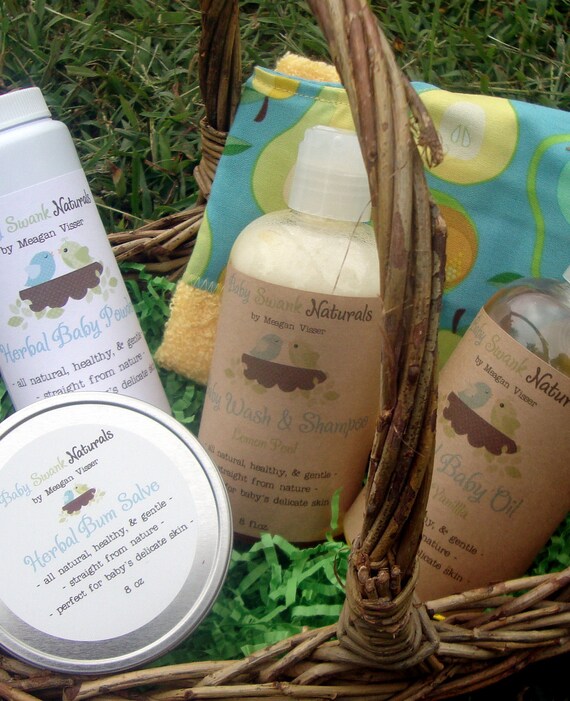
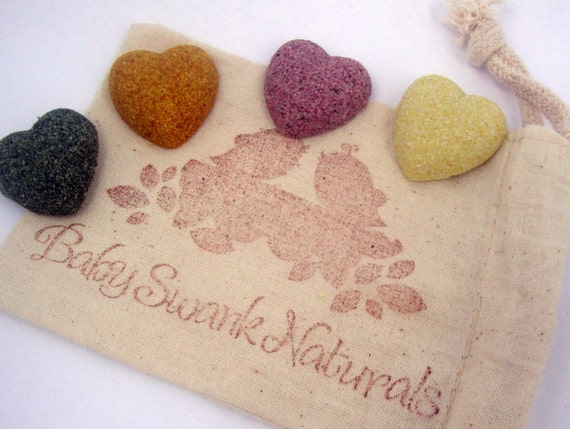
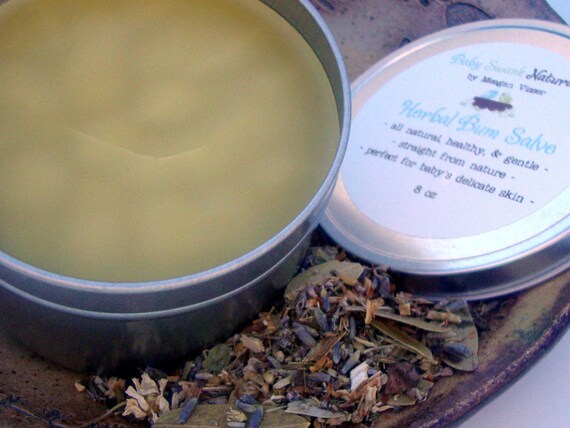
Gift Baskets - the perfect gift combo for the new mama or little one in your life!


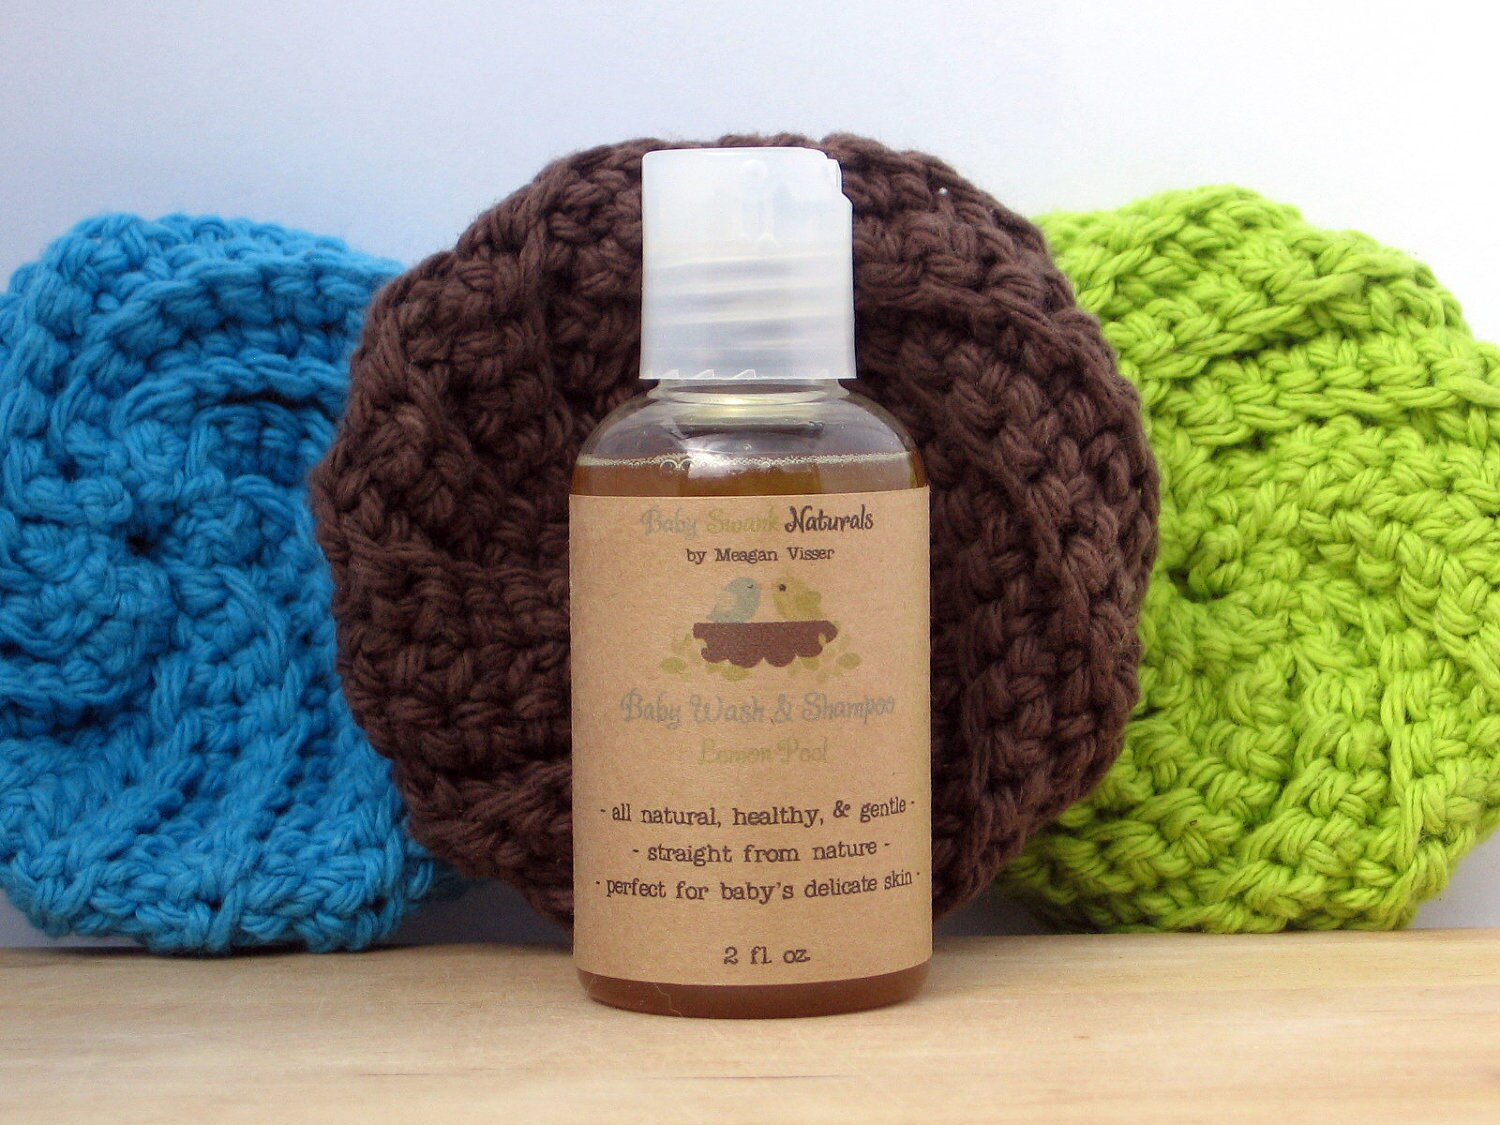
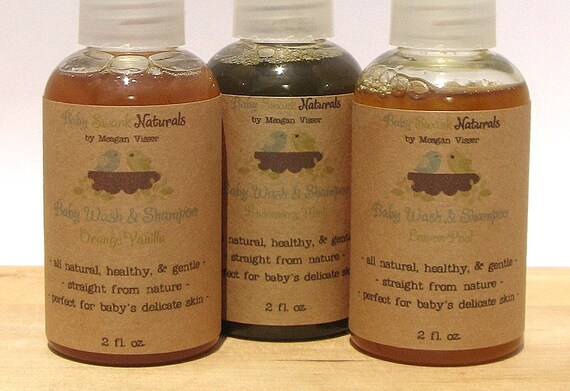
Stocking stuffers - fun bath finds for your tot!


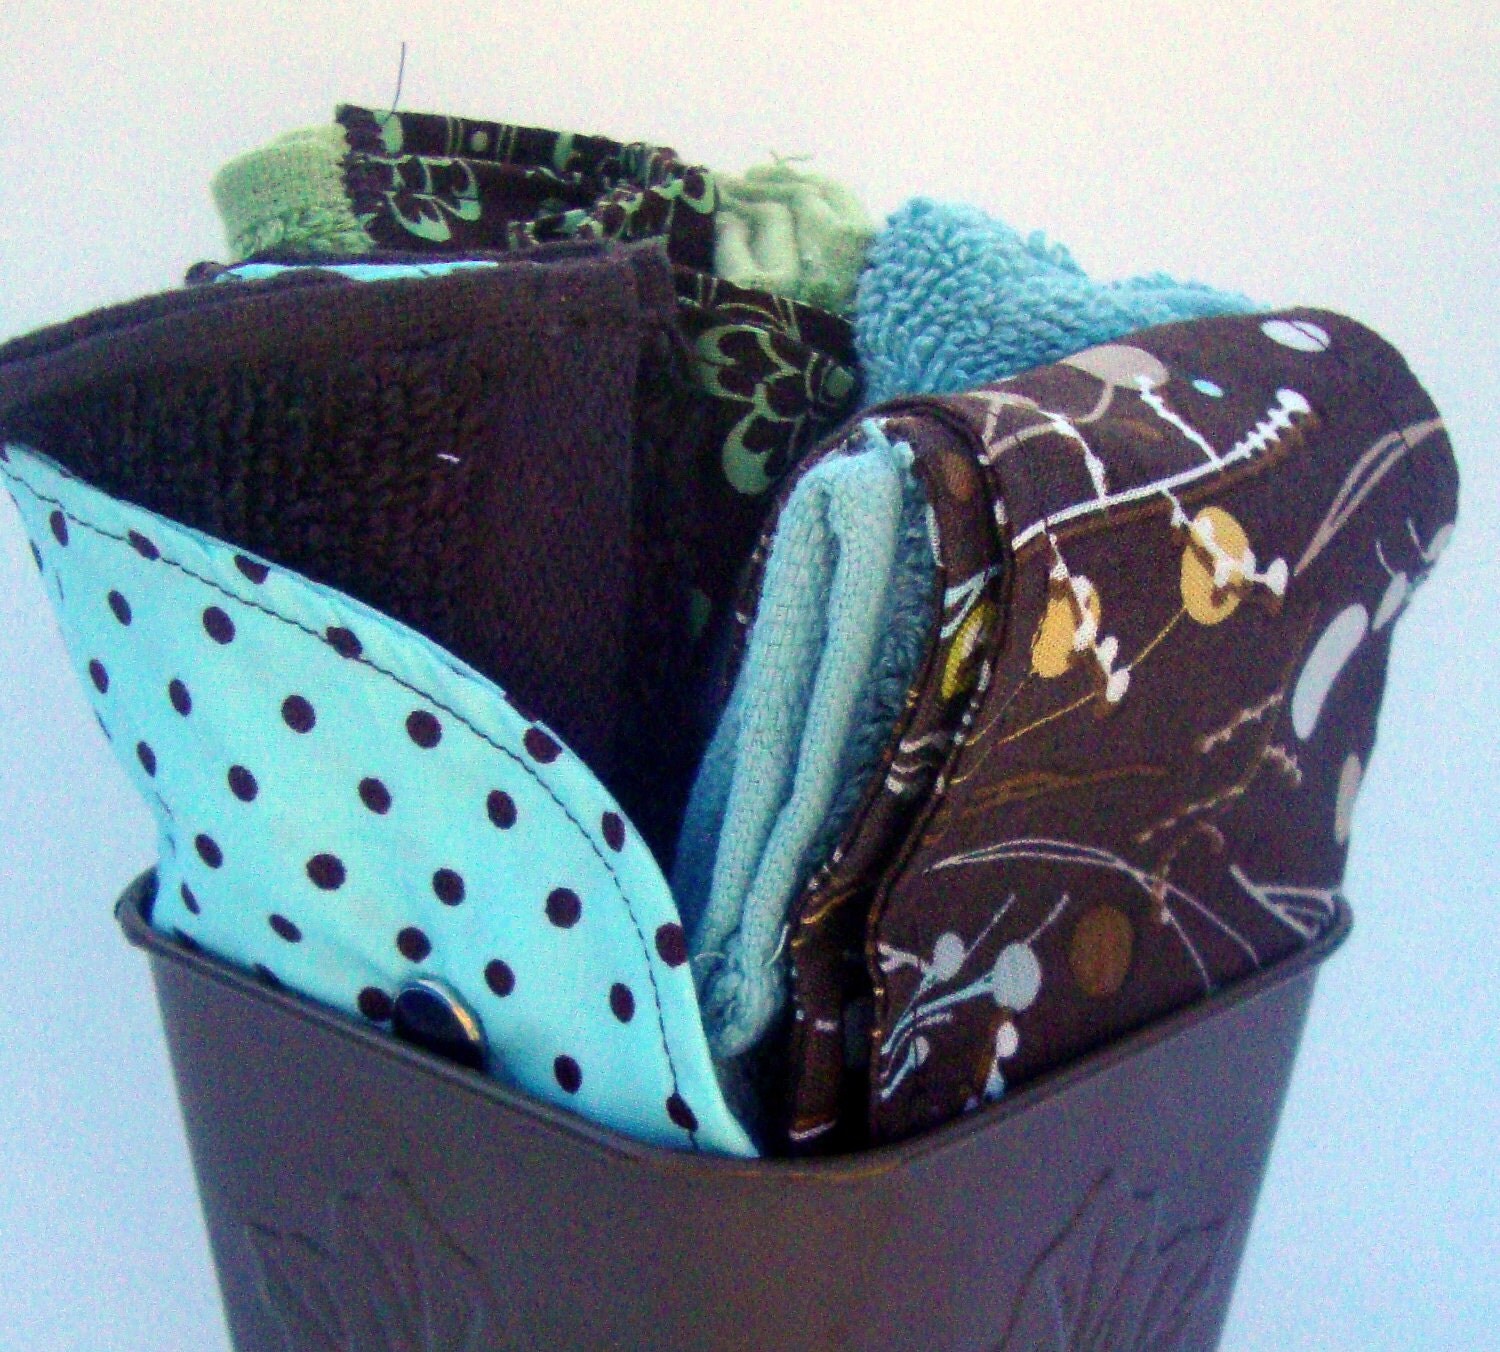
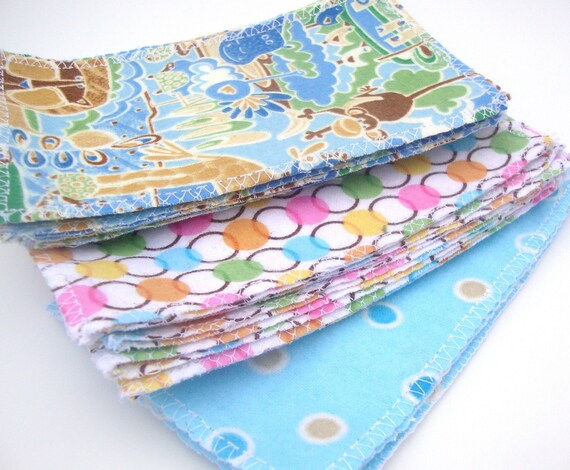
For Little Bums!


Enjoy...pass this along to your friends...& I hope to be working with you soon!
xo, Meagan

PSST...don't forget I offer gift wrapping & direct shipping as well!!

Thursday, November 17, 2011

3 Steps to a Successful Nighttime Baby Massage


There's nothing better than a baby who sleeps through the night, but as many of you know, getting your baby ready for bed begins long before bedtime comes.

I've always had babies that slept well & straight through the night early on. I would give them a nice, warm bath, followed by a good massage, some warm jammies, some snuggle time mixed with a full feeding, & off to bed they'd go. Ahhh, makes me ready for bed just thinking about it.

For me, the massage was key. Babies play all day, kicking & squirming, & by giving them a relaxing massage after a nice calming bath always helped to settle mine down quickly.

So today, I want to give you instructions on how to relax your little one with a bedtime massage.

1. Get your supplies ready

Put a blanket or towel under your baby & have your massage oil nearby. Make sure it's warm in the room. You don't want your little nudist to get too cold!

2. Start at the top & work your way down
  • Start by rubbing a little oil on your finger tips & gently rubbing it over babies forehead, nose, cheeks, & chin. Work your way down to her neck next making sure to focus on the back of it especially if she's learning to hold her head up.
  • Next move down to her shoulders & arms using a gentle but firm downward rub all the way to her fingertips. Make sure you have enough oil so that your hands slid across her skin.
  • Now go back to her chest & work your way down to her belly using small circles. Roll her over onto her tummy if she'll tolerate it & do the same thing to her back before rolling her back over. If she doesn't like being on her belly, now is not the time for tummy training. The point of the massage is to relax her.
  • Lastly you're going to start at the top of her legs & work your way down to her toes using the same downward rub you used on her arms. If you want you can stop & focus on her feet using small circles on her soles, it's totally up to her.
3. Finishing touches

Now all that's left is to get her dressed & finish up her bedtime routine.

Not only will this massage help relax your baby, but using the oil will be beneficial to her skin by providing it with nutrients & making it super soft.

So I hope you give this a try with your baby. These are the instructions that come with my Herbal Baby Oil in my shop & it would make a great baby shower gift or stocking stuffer!

Tuesday, November 15, 2011

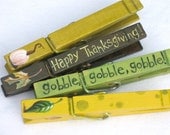
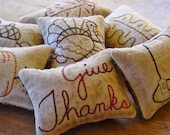
Inspiring Thanksgiving Finds & A Yummy Recipe

Fall is my favorite time of the year. The colors, the smells, & the get-togethers are the best. Everything is special & has a homey feel to it & it's a great time to reflect on the past year & realize all the blessings in your life!

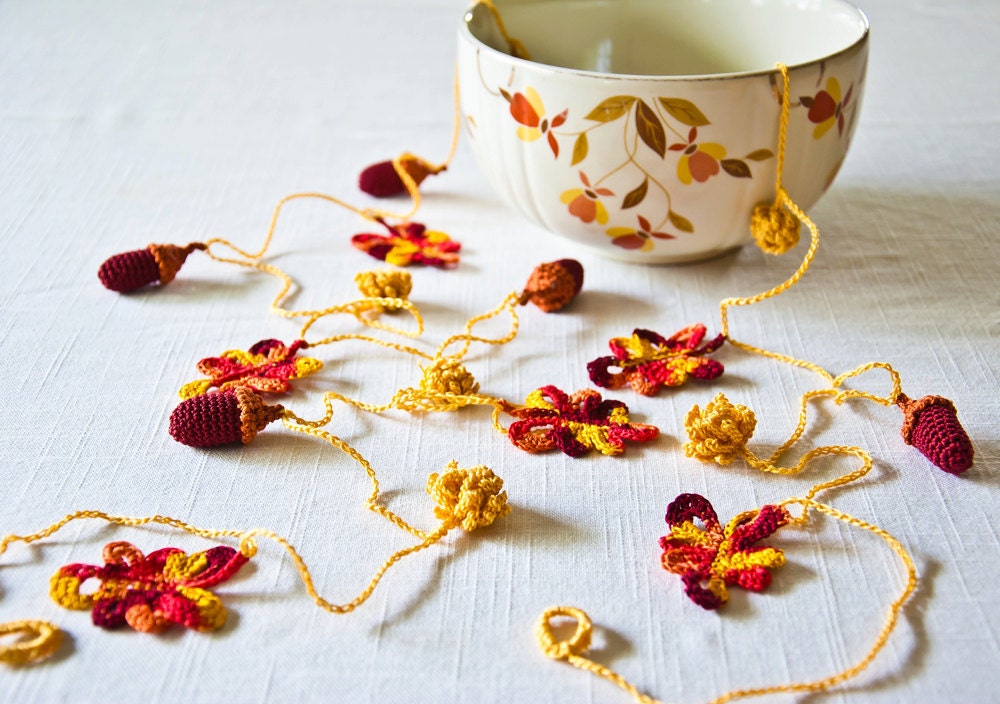
Speaking of decorating for fall, here's a treasury with lots of beautiful items you can use to make your home extra festive this year!

Autumn Leaves Thank...
$13.95

Needle Felted Pumpk...
$20.00

THANKSGIVING or Fal...
$115.00

Autumn Thanksgiving...
$40.00

SCENTED Cinnamon Va...
$55.00

PrimitiveTHANKSGIVI...
$21.00

Thanksgiving Banner...
$24.00

Thanksgiving Thumbp...
$40.00

Thanksgiving Decor ...
$60.00

THANKSGIVING TURKEY...
$10.00

Thanksgiving decora...
$16.00

Thanksgiving Home D...
$29.99

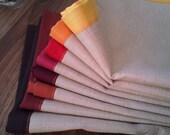
Holiday Napkins - S...
$26.00

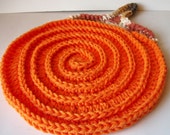
Pumpkin Trivet Oran...
$11.00

Hostess Gift Thanks...
$25.00

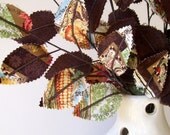
Fabric Leaves - Vin...
$21.50

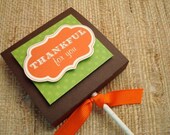
What a better way to show someone you're thankful for them than with a little gift. Is this something you do each year? If not, now's the perfect time to start!

THANKSGIVING TABLE ...
$10.00

Thanksgiving - Bowl...
$23.00

Thanksgiving Pumpki...
$5.75

Thanksgiving table ...
$12.00

Fall and Thanksgivi...
$10.00

Thanksgiving Coaste...
$15.00

Give Thanks Pear Th...
$4.00

Thanksgiving Fall C...
$22.95

Vintage Button Rust...
$12.99

Gift Set
$12.00

Pumpkin Cup Cozy Mu...
$17.50

give thanks, embroi...
$26.00

Thankful Thanksgivi...
$18.00

Thankful For You, T...
$14.50

Thanksgiving Iced S...
$30.00

Fall & Thanksgiving...
$10.00

And speaking of Thanksgiving, get-togethers, & lovely things...here's a link to a super deliciousa recipe that you can make & bring to your Thanksgiving dinner. It's sure to impress & be a big hit!

Pumpkin Bread with Streusel Topping via Bakingdom
Happy Thanksgiving!
xo, Meagan

Thursday, November 10, 2011

3 Thanksgiving DIY Projects For You

Why should Christmas have all the fun?

I love Thanksgiving! Not just the meaning behind it, but Autumn is my favorite time of the year. I love color & when it comes to decorating my house...this is the most inspirational time for me.

So recently my 3 year old has really gotten into doing crafty, creative type things. He really likes to color, paint, play with play-doh, help me cook, etc so I'm trying to come up with some fun DIY projects that we can do together.

Pinterest is great for finding stuff like this so today I'm going to share some projects that my little man & I will hopefully tackle this month. Not only to help him be more creative & have fun, but to help teach him the meaning behind Thanksgiving too.

DIY Gratitude Board via Parents.com

DIY Thankful Turkey via Parents.com
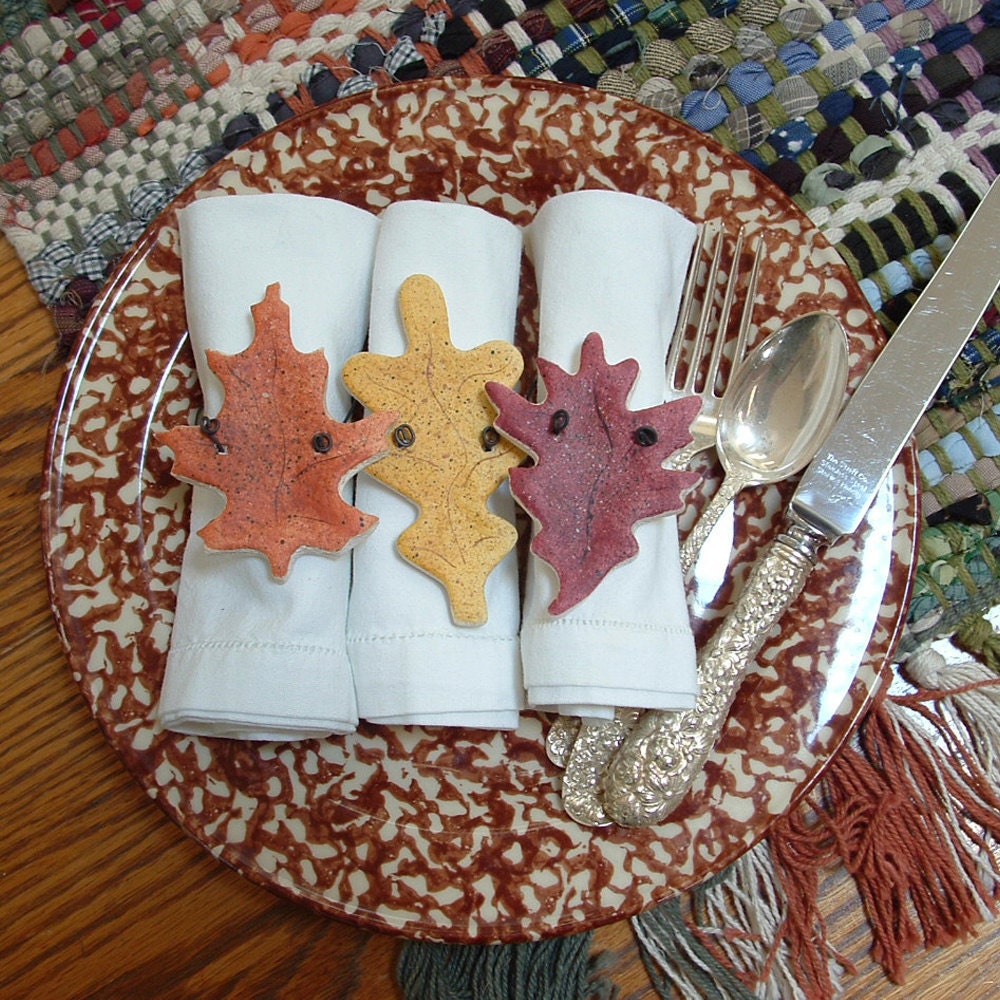
DIY Ceramic Leaves via Two Shades of Pink
Do you have any projects you're planning on tackling before Thanksgiving...with or without your kiddos? Let me know in the comments below & leave a link to it if you have one!

Enjoy!
xo, Meagan


Tuesday, November 8, 2011

Beautiful Lady Face Scrub

We ladies all want to look beautiful in our own skin & today I'm going to help you do just that.

Here's a recipe for a quick & easy, gentle, all-natural facial scrub that will help remove those yukko dead skin cells that make your face look dull & reveal that beautiful, fresh skin that will get you some great complements!

Best of all, you more than likely have all the ingredients on hand. If not, you can get them at any ole' grocery store!

You'll Need:

1/4 c. ground oatmeal
1/4 c. powdered milk
1 tsp. cornmeal
purified water


Here's whatcha do:
  1. Mix your dry ingredients together & store in a plastic bag or glass jar of some sort. 
  2. To mix up some scrub to use, combine 1 Tbsp. of scrub mix with enough water to form a spreadable paste. Allow your mixture to thicken for 1 minute.
  3. Massage the scrub onto your face & throat - avoiding your eye area - & rinse.
Super simple! Enjoy!

xo, Meagan